▫️Creating your first Overlay
The basics
You can get started with your first overlay by visiting the Inventory page of the plaza. The inventory page contains any overlays or scenes that you have purchased, as well as the ones you have created.
To create a new overlay simply click the "Create New Custom Overlay" button in the upper right of the inventory.
The Editor
Once you have created a new overlay, it will show up in your inventory under the "My Creations" tab, from here you can either delete it or click the edit button to start building your overlay.
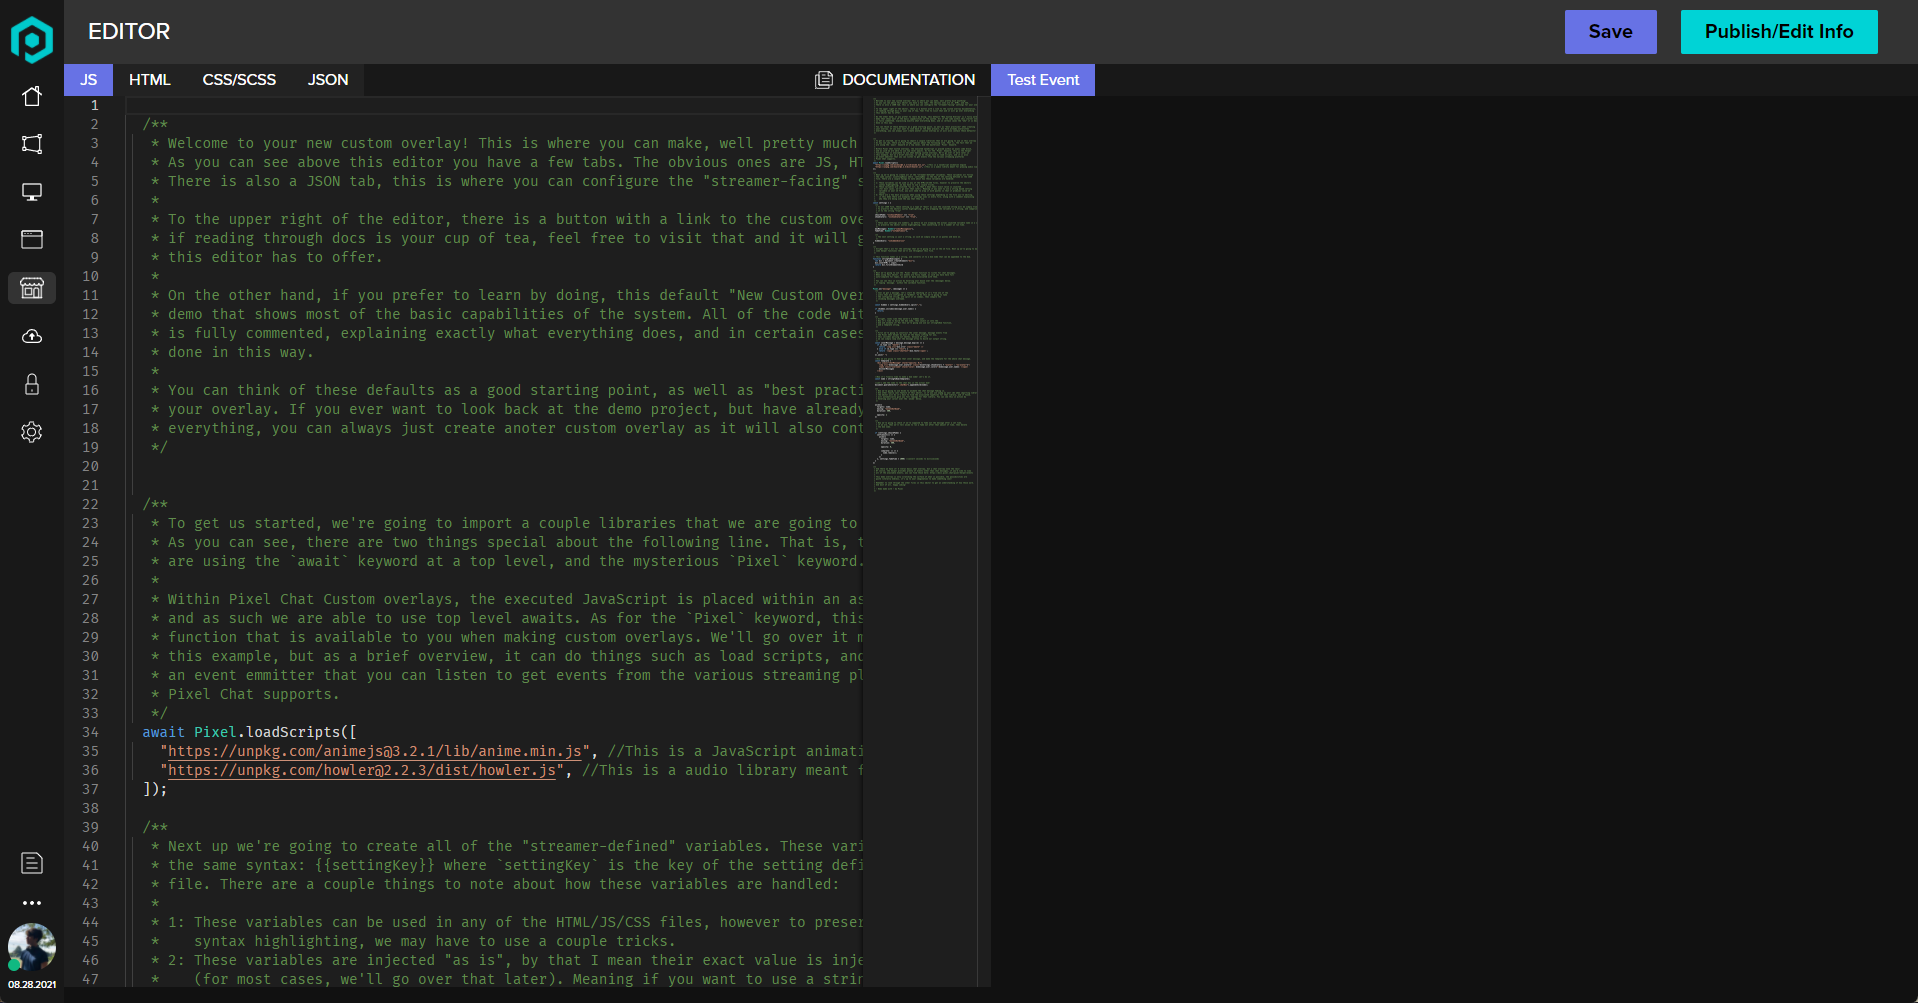
Once you open the edit page, you'll be brought to a page that looks like this:

This is the editor, on the left half of the screen, you will see the custom code editor. This editor is where you will write all of your overlay code! It is split into 4 tabs, JS, HTML, SCSS, and JSON. These tabs are the 4 files that make up a custom Pixel Chat overlay!
The right half of the screen is your preview, this preview will automatically refresh every time you save your code. On the top of the right half, there is also the Test Event button, this button opens up a small sub-menu that lets you send test events to the preview such as chat messages, follows, etc.
Extras
The editor has a few super nice "quality of life" features built-in. As it is an extension of Monaco it has built-in code formatting that you can access by pressing F1. The editor also has emmet built-in if that's something you enjoy using!
We also have several type file helpers built-in, for example, the Pixel Helper function is fully typed within the editor, this includes all of the available helper functions, as well as all the events that you can subscribe to. For example, if you did Pixel.on("message", msg=>{}) the msg variable will be fully typed within the editor so the editor will have full knowledge of all the properties that this variable has, and will provide full autocomplete.
On top of this, if you use the Pixel.loadScripts helper function to load a library from unpkg, the editor will do its best to find the associated type files for that library and will inject those into the editor to give you full autocomplete for those libraries if found.
What's next
Next, it's time to actually make your custom overlay! To do this the next step is to learn about how custom Pixel Chat overlays are made, including how to use the helper functions, and best practices when creating your code.
To learn this you have 2 options, when you created your new overlay, we pre-filled your default files with a working chat overlay, this chat overlay's code is fully documented containing comments telling you exactly why everything is being done, and explaining all of it. If you like to learn by doing, or by reading through code, feel free to leave the docs and learn from the code that's in there! You can always come and check these docs if you get stuck.
The other option is learning from the docs! These docs contain everything there is to know about custom overlay creation, including all the API's available, and info about best practices. If that's more your thing, you can get started here:
Last updated