⏹️Creating your first Scene
To create a scene start by visiting the Scenes tab of the Dashboard and click the "Create New Scene" button in the upper right. Once you have created a new scene, click the edit button to begin editing the scene.
The Editor
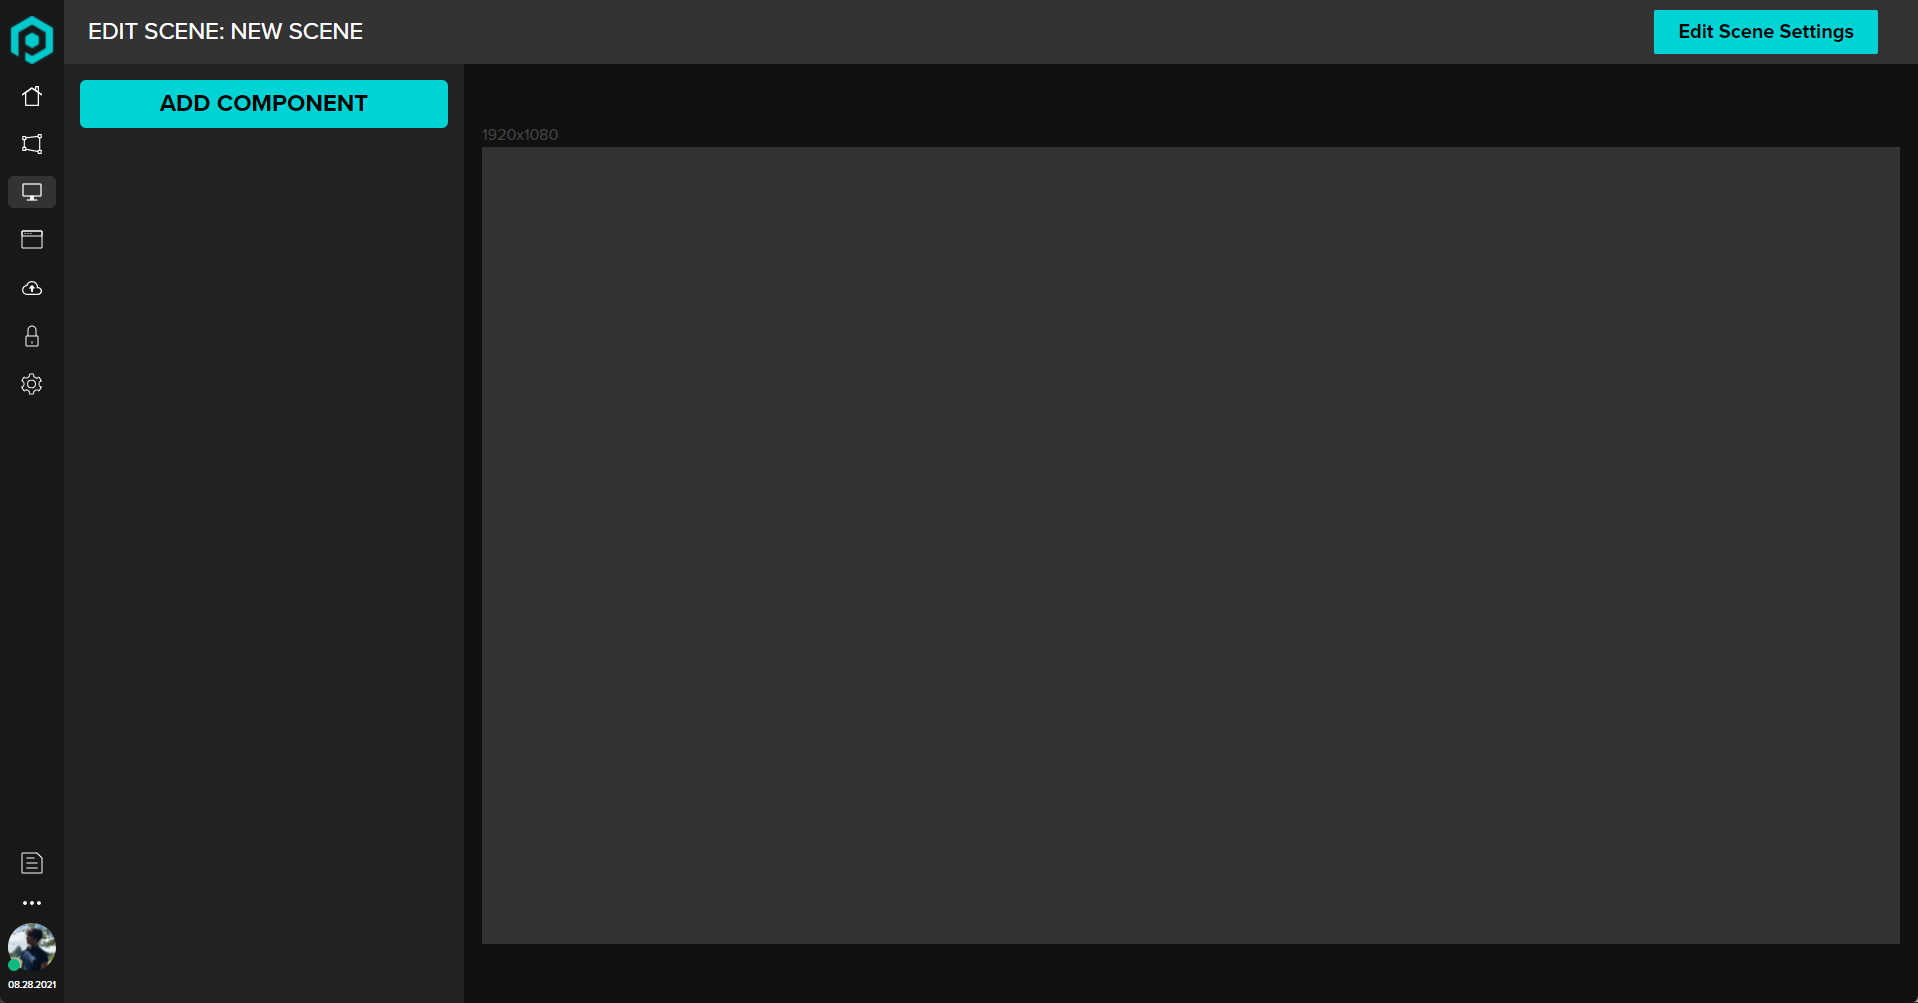
When you first open the editor, it will look something like this:

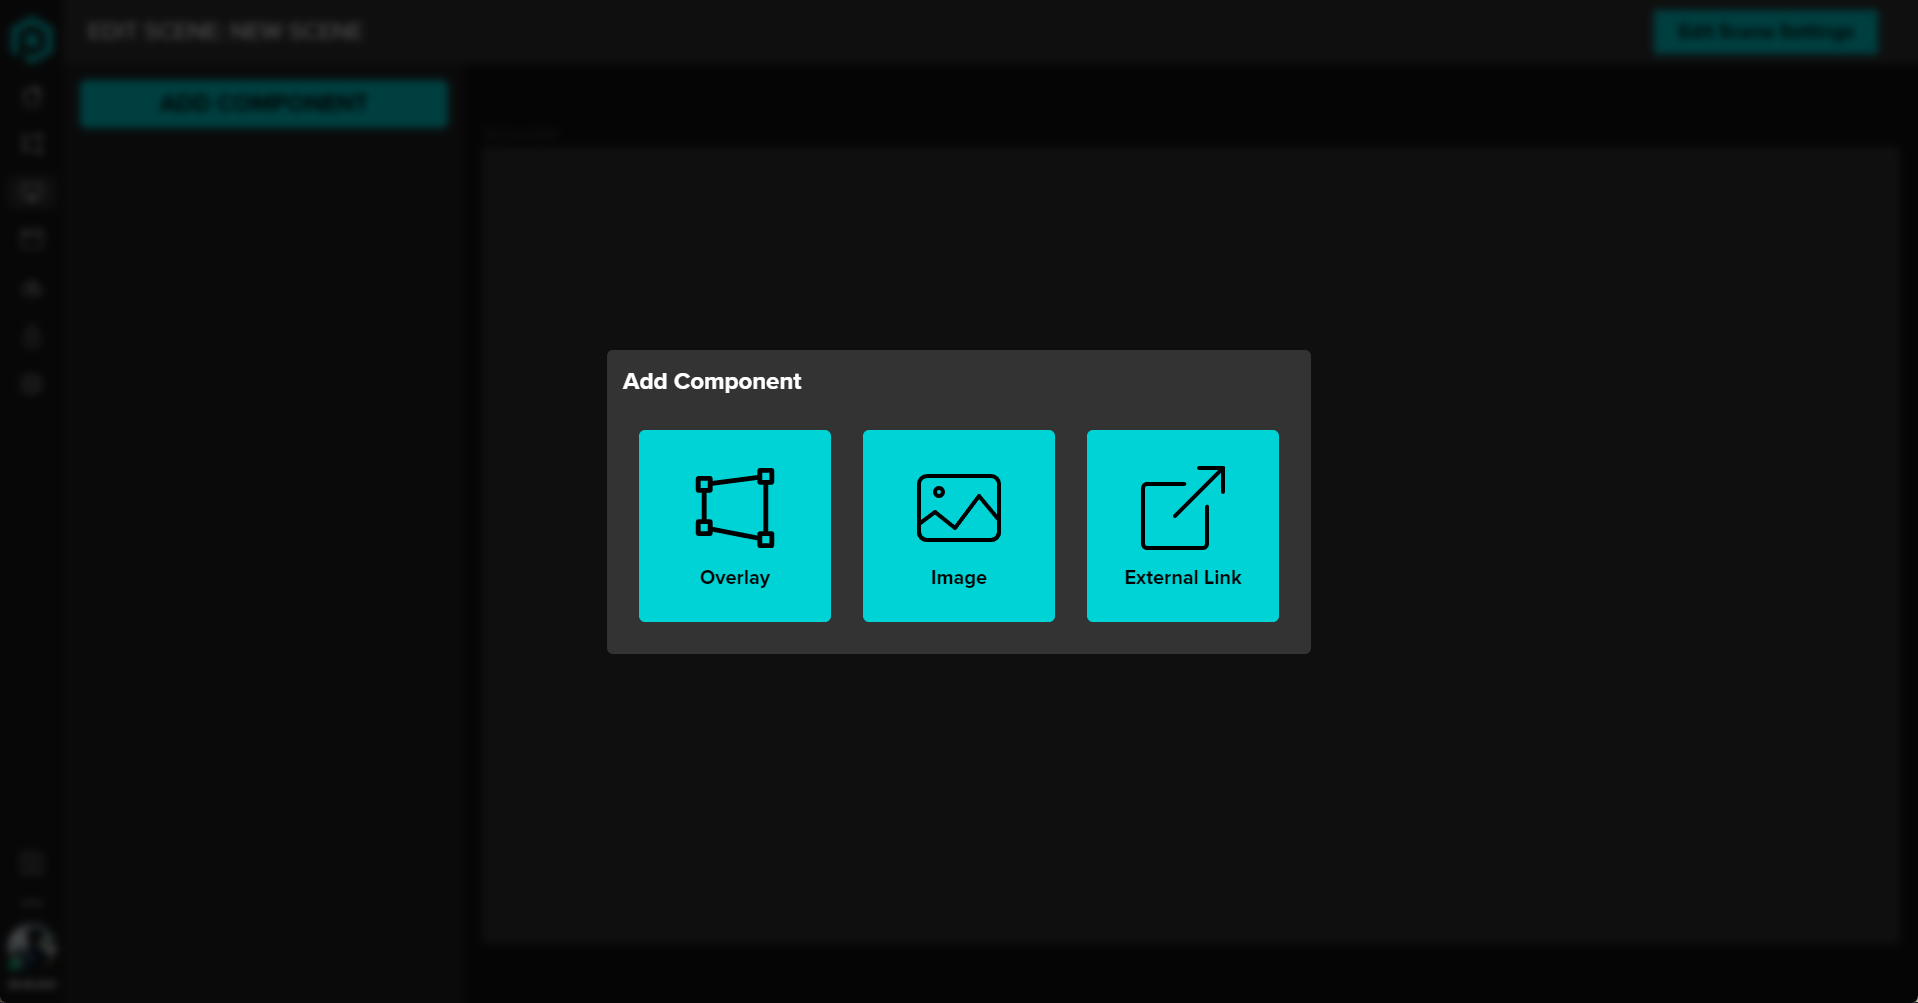
The editor is pretty simple to use, to start click the "ADD COMPONENT" button in the upper left. This will bring up a modal where you can select the type of component that you wish to add like so:

Click on the type of component that you wish to add, from there it will either open up another selector or will add that component type to your list.
Once you have a component added, it will appear on the layers list on the left, as well as in the central scene editor. To move and position it, simply drag it around like so:
With all of the components, on the layers panel there will be a "Quick Edit" button, for overlays this will bring up the overlays settings panel, and for images/urls it will let you set the image/urls accordingly.
To re-order components, simply drag them by the handle in the layers panel like so:
Alright, you made your scene! Now it's time to publish it!
⏹️Publishing ScenesLast updated